Introduction
In this blog post I will show you how I set up this blog. It uses the Azure static websites feature of the Blob storage for simple, fast and cheap hosting of the website and Jekyll for creating the blog posts. If you follow along, by the end you will have a website which will automatically be deployed from Github and can be reached on your own domain. So, let’s get into it….
Jekyll
First, a few words on Jekyll. Jekyll lets you create static websites, so websites without any server-side logic. Jekyll generates a set of HTML, CSS and Javascript files which you can then host anywhere, in our case in the Azure Blob storage. The great thing about Jekyll is that if you want to, you can edit every HTML and CSS element of your webpage if you want to, but if you are less technical you can just use any free theme on the internet and create your own blog writing posts in Markdown. For this blog I combined two themes: Mundana and online-cv. This can be a bit tricky, if you are new to Jekyll just stick with one theme or the default theme, you can always play around with themes later.
Azure
Within Azure we will use the Storage account, which is a scalable and cheap cloud storage, to host our files generated by Jekyll. The files will be deployed to the storage account automatically from Github whenever we push a new change to the repository. You can find the repository with the code for this blog here: repository
Setup
Jekyll
First, we need to create the website locally. For doing that please follow the Jekyll quickstart here: quickstart For local debugging I use this Dockerfile and the following command to check my webpage on localhost:
docker run -p 4000:4000 -v $(pwd):/site jekyll
Azure Portal - Storage account
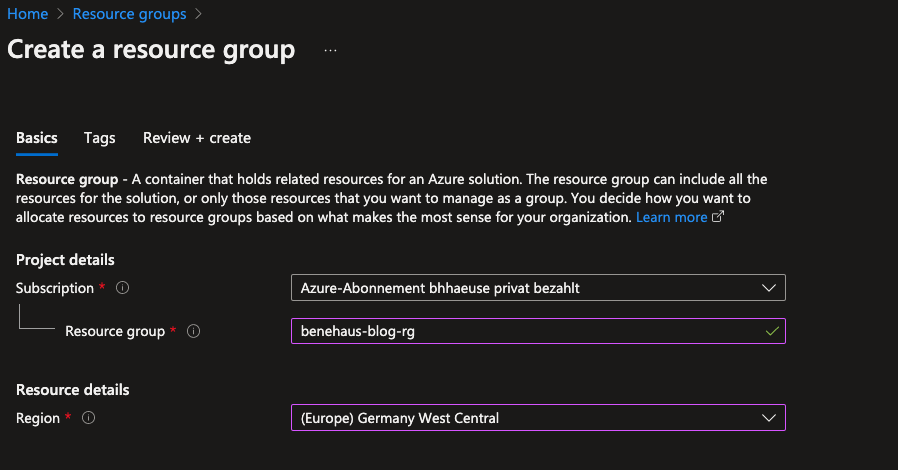
Next, let’s head over to portal.azure.com and create some resources there. I am assuming you have a subscription with a payment method set up. First, we create a Resource Group by searching for “Resource Group” in the top search bar, clicking on it, then on “Create” and then we enter the desired name and location:
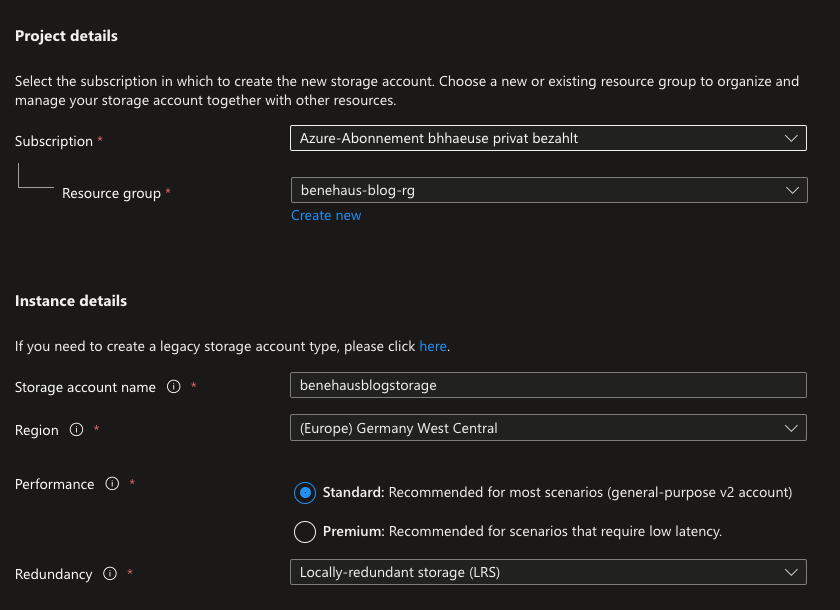
We will put all necessary resources into this resource group. Let’s create the first one right away. Select the resource group, click on “Create resource” and search for “storage account”. Click on the search result and create it. Here you have some more options. Select a name, location and locally redundant storage (this is enough for a non-critical use case like a website) and create it:
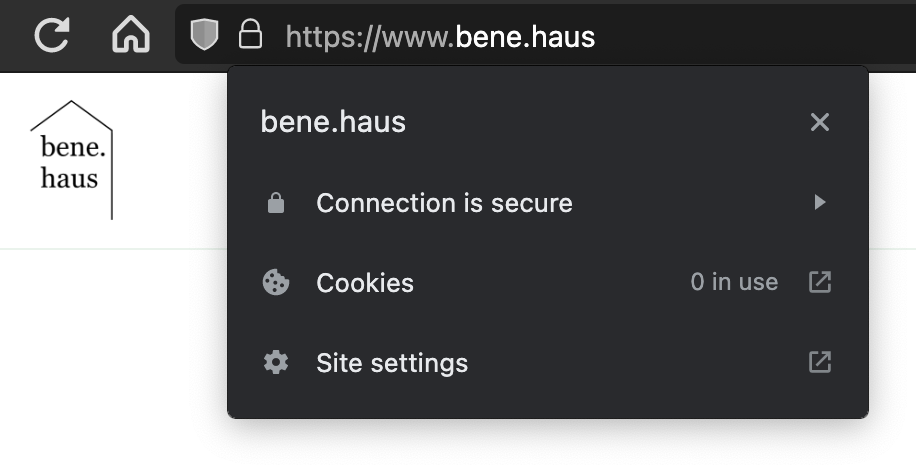
On the Blob storage, click on “Static website” in the menu and set it to Enabled. Enter “index.html” and “404.html” for the required documents and click on save. You can now see your primary endpoint which will look something like https://blobname.z1.web.core.windows.net. Your website can now be reached at that URL if you put a index.html file into the container “$web” that was created automatically.
Github - deploy website
Now we want our website to be deployed to this storage account. Got to Github, create a repository and push you code. Now, head to the settings of your repository and go to Secrets -> Actions. Create new repository secrets:
- STORAGE_ACCOUNT_NAME is the name of the storage account you created
- SAS_TOKEN: In the Azure portal, got to you storage account and “Shared access signature”. Create a token with write permissions to the Blob service and Container resource type that is valid for a year
Create a file defining the Github Action workflow in .github/workflows/main.yml:
name: Build and deploy Jekyll site to Azure Blob static page

on:
  push:
    branches:
      - 'main'

jobs:
  jekyll:
    runs-on: ubuntu-20.04
    steps:
    - uses: actions/checkout@v2
    - uses: actions/cache@v1
      with:
        path: vendor/bundle
        key: $-gems-$
        restore-keys: |
          $-gems-
    - uses: helaili/jekyll-action@v2
      with:
        jekyll_src: 'jekyll'
        target_path: '_site'
        build_dir: '_site'
        build_only: 'true'
    - name: chmod
      run: sudo chmod -R 777 ~/work/benehaus_blog/benehaus_blog/jekyll/_site/_site/
    - uses: bacongobbler/azure-blob-storage-upload@main
      with:
        cli_version: 2.34.1
        source_dir: 'jekyll/_site/_site/'
        container_name: '$web'
        sas_token: ${{ secrets.SAS_TOKEN }}
        account_name: ${{ secrets.STORAGE_ACCOUNT_NAME }}
        overwrite: 'true'
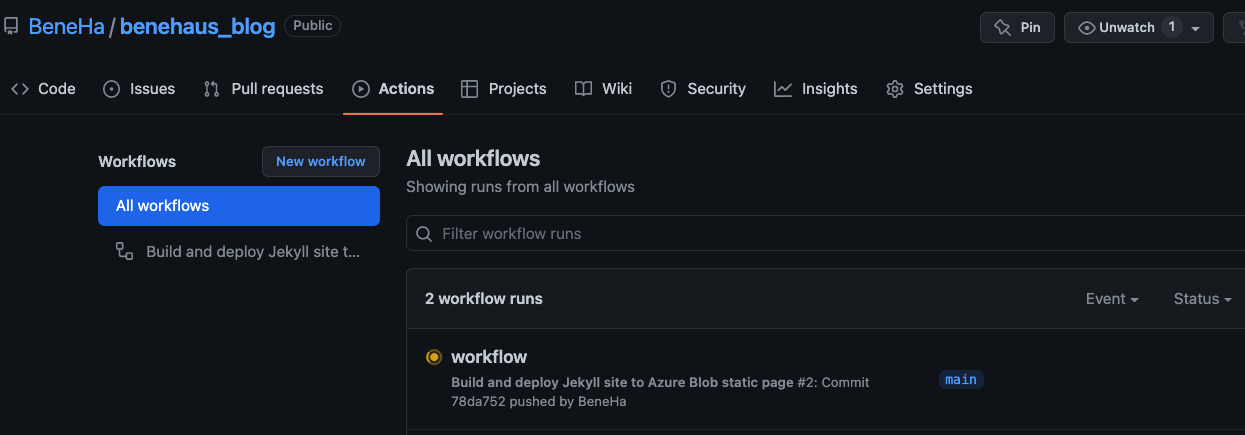
I had to change some folder permissions so the built folders could be used by the upload storage task. You can adapt all the paths to however you set up your folders in your repository. The task will build the Jekyll page and deploy the folder with the built website code (_site) to the storage account container $web. Ideally, after pushing this file, Github should recognize it and run the deployment job automatically because we set it to trigger on the main branch.
Check the results by going to the website at the URL you saw before when setting up the Static Webpage for the Blob storage.

Yeah, so our website can now be reached from the internet and is automatically deployed as soon as we make a push to the main branch of the repository! Nice work! The first part is now done. What we want to change now is the url where the website can be accessed (it still has the ugly long name with .core.windows.net in it).
Azure Portal - CDN endpoint
Let’s go back to the Azure portal and create a CDN endpoint. Add a resource and search for “Front Door and CDN profiles”. Select “Explore other offerings” and “Azure CDN Standard”. Again, define a name and click on “Create”. Now, got to your CDN profile and click on “+ Endpoint”. Select storage static website as origin type and select your storage account from the list in the origin hostname dropdown.

Now we have an endpoint which can be linked to our domain. We can add custom domains to this endpoint so when someone enters our URL (which will be bene.haus) this will actually be a request to the endpoint we just created from which the storage account with the website will be served to the user. So let’s go ahead and buy a domain.
Namecheap
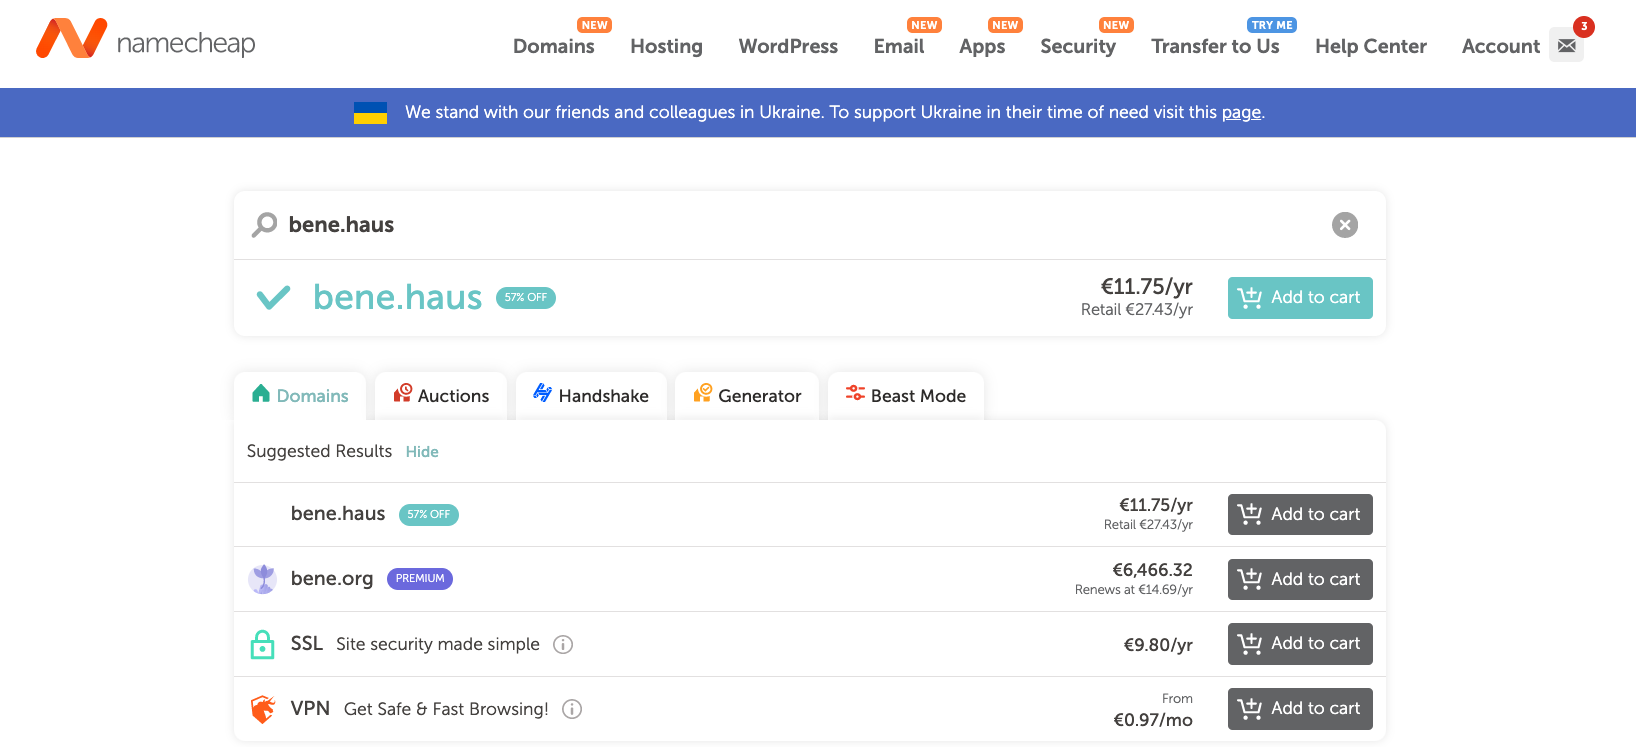
So we first need to buy a domain. I used namecheap but you can use any other domain registry for that. Just select a cheap one and buy it, in my case bene.haus:
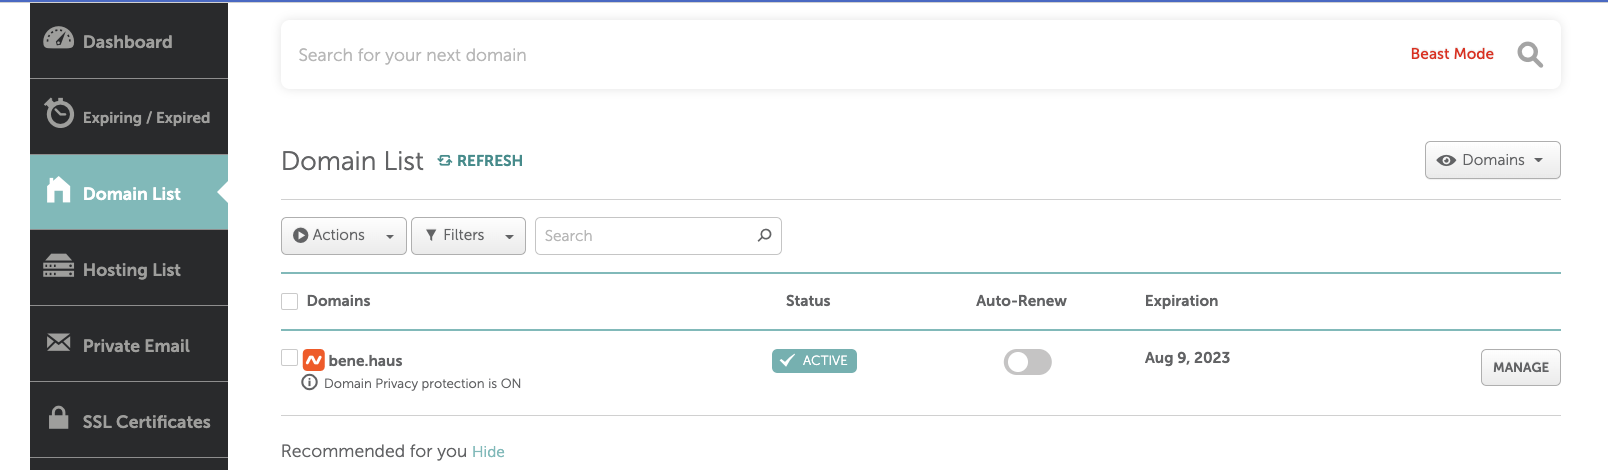
After the checkout, the domain can be seen in the list of your domains. Click on “Manage” to got to the settings.
Next, go to the Advanced DNS settings. Usually, a URL redirect record will already be created by default to direct the user from bene.haus to https://www.bene.haus. We now want to add a CNAME record which looks like this:
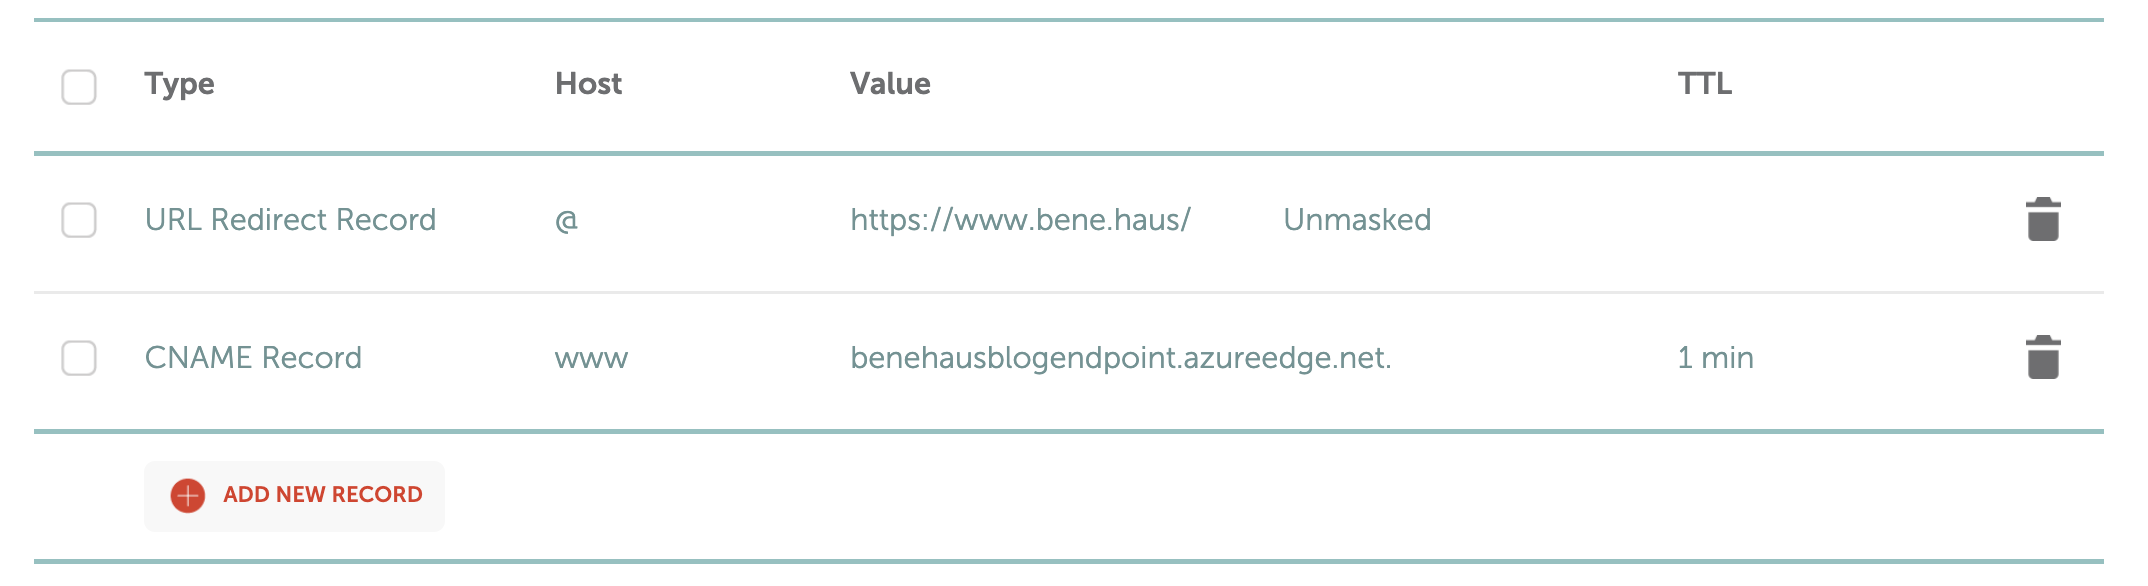
The value of the CNAME record is the endpoint hostname of the CDN endpoint we created in the Azure portal.
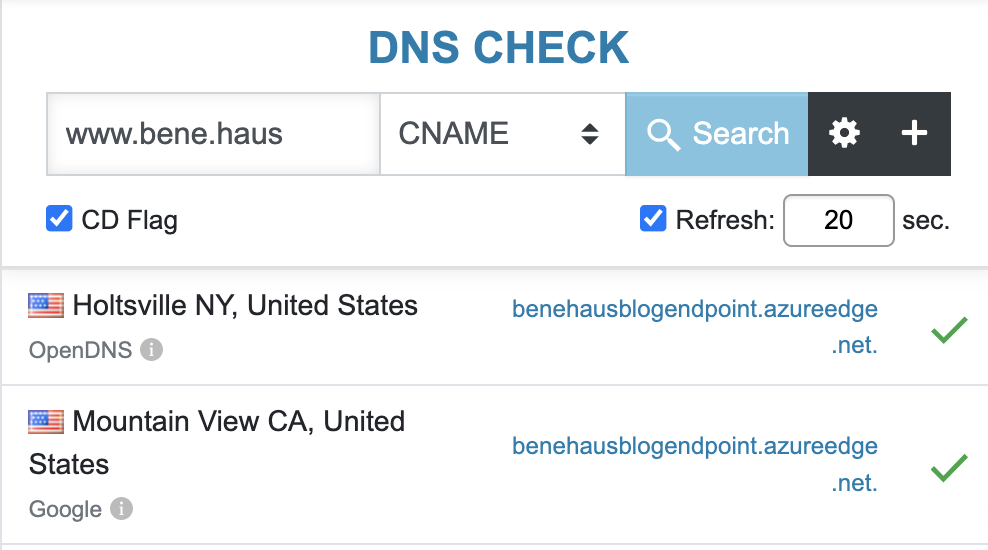
In order to check if the CNAME record is live, go to https://dnschecker.org/#CNAME, enter your URL and see if it can be resolved correctly:
Azure portal - adding the domain
Now we go back to the CDN endpoint in the Azure portal, click on “+ Custom domain” and enter “www.bene.haus” as hostname. Azure checks if a CNAME record is set and if so, you can click on “Add”. Also, let’s add HTTPS to the webpage to follow best practices. In the list of cusotm domains, click on your domain name and set Custom domain HTTPS to On. For this blob I will simply use the certificate provided by Azure. After you click on “Save”, it will take a few minutes for the validation to work but afterwards, the website should be reachable on the via https:
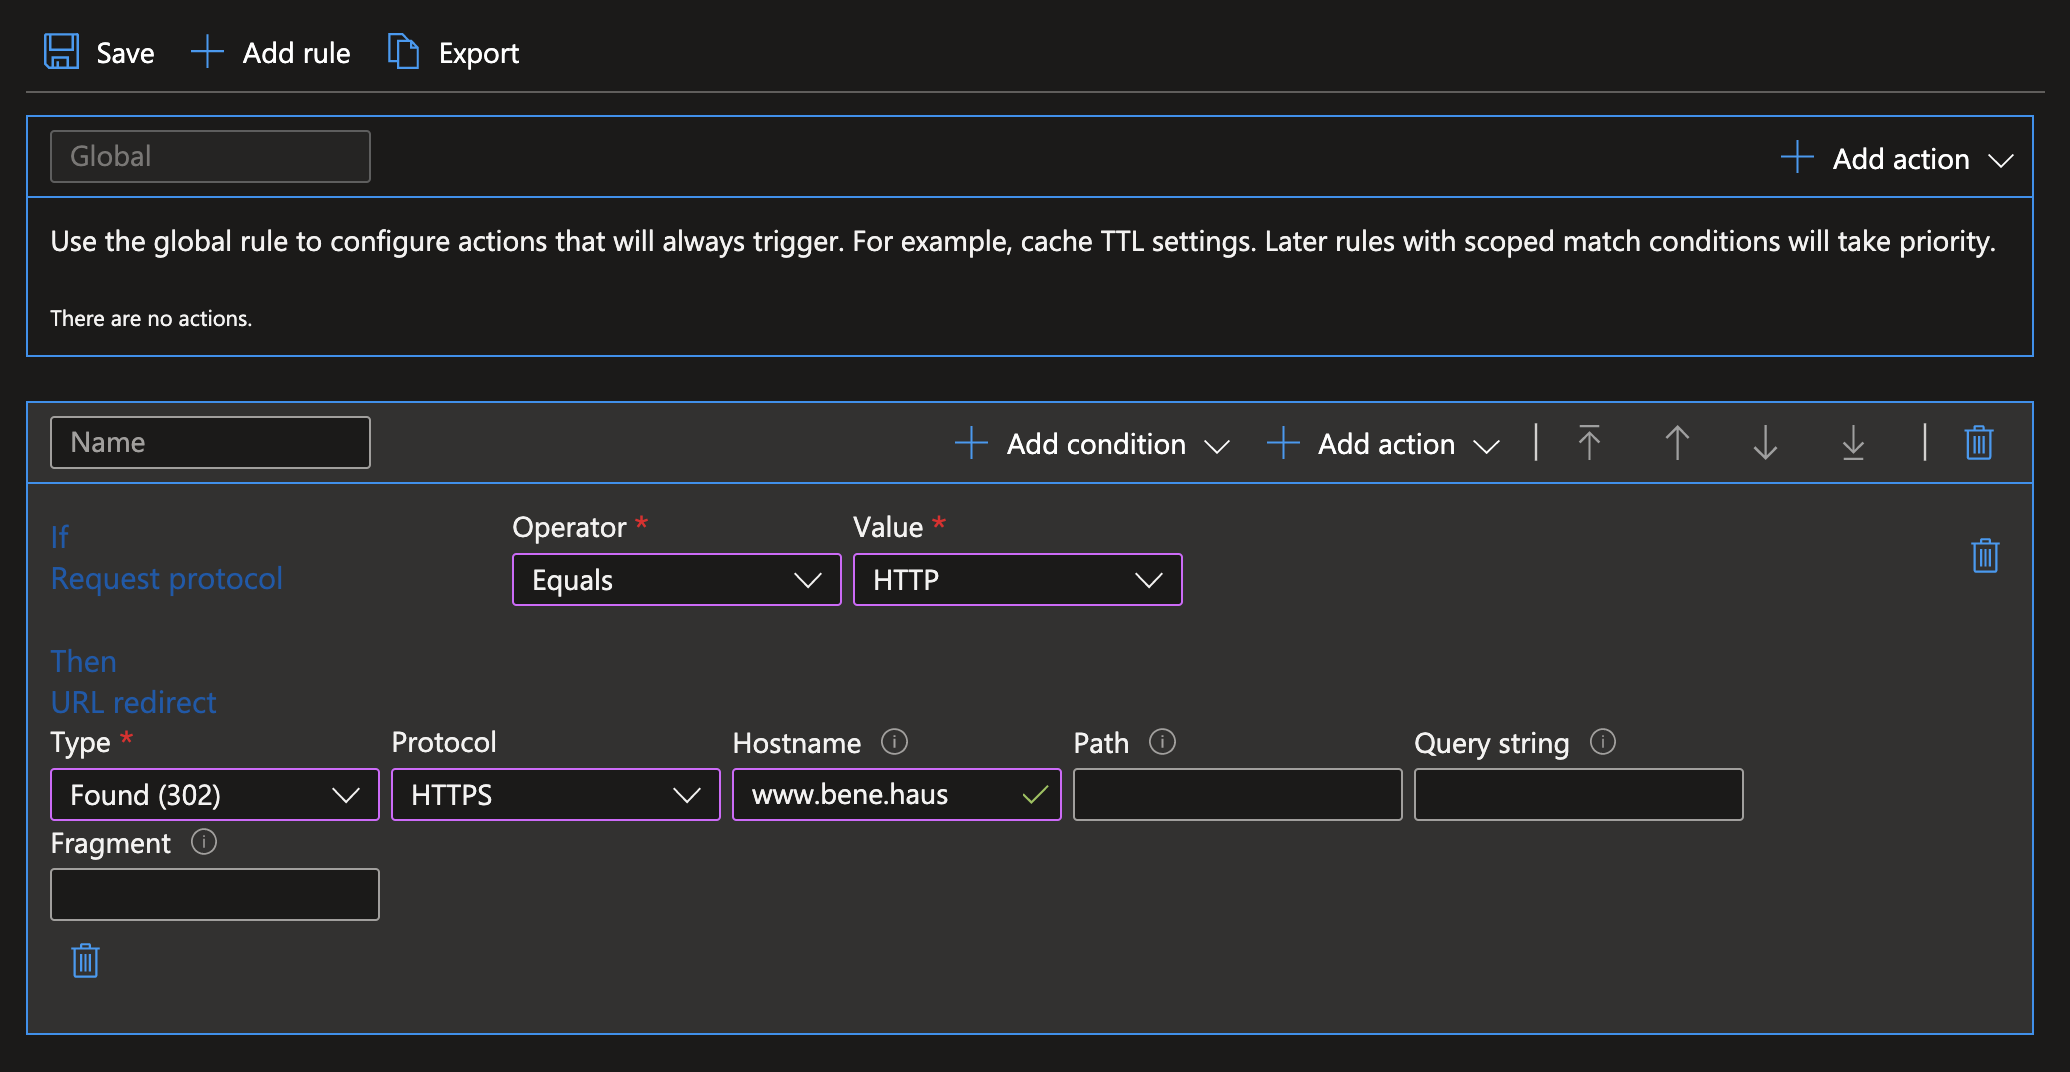
Finally, got to the Rules engine in order to make sure your website will only be accessible via HTTPS. Create a rule like below which will redirect any HTTP request to HTTPS:
CDN refresh
Hooray, we are live! Our website can now be accessed correctly, defaults to HTTPS and we can deploy a new version simply by pushing to Github on the main branch. Basically, we are finished. However, there is one thing which would be quite nice: When we deploy a new version, the CDN which is responsible for providing the content of our Blob storage to the user will not immediately pick up the new version. Therefore let’s add a step at the end of our deployment workflow to purge the CDN endpoint which will force it to fetch the last version of all files.
First go to the Azure Active Directory in the Azure portal, then to App registrations and add a new registration. Enter a name and click on “Create”. On the overview page of the new Service principal, go to “Certificates & Secrets” and create a new client secret. Copy the value (you will not be able to access it again) and create a new Github secret for it named AZURE_CREDENTIALS. The structure of it is like below. Replace the values by the client ID of your service principal, the secret, your subscription and tenant IDs.
  {
    "clientId": "<GUID>",
    "clientSecret": "<STRING>",
    "subscriptionId": "<GUID>",
    "tenantId": "<GUID>",
    "resourceManagerEndpointUrl": "https://management.azure.com/"
  }
Now add the following to the main.yml deployment workflow, using the names of you resource group, CDN endpoint and profile:
    - name: Azure Login
          uses: Azure/login@v1.4.3
          with:
            creds: $
    - run: |
        az cdn endpoint purge -g benehaus-blog-rg -n benehausblogendpoint --profile-name benehaus-blog-cdn --content-paths '/*'
We are done! Now with every deployment the CDN endpoint will be purged, making sure the new version of the website can be accessed within a few minutes.
Summary
We used Jekyll to generate a static webpage locally, deployed our repository to Github and had it build the page and copy the files to the Azure Blob storage on commits. From there they are served via a CDN endpoint which is linked to our own domain. I hope this post was interesting and it was possible to follow all the steps. Let me know if some parts were too hard to understand! The code for this post is on Github.
 Experiences travelling by train in Europe